Updating Schedules to Payroll and Billing
Use this procedure to update Schedules into Payroll and Billing.
You may want to review PS: Personnel Scheduling Wizard before updating in order to understand how a batch is updated through the PS Wizard, what happens when a batch is recalculated, what happens when you delete a batch, and various scenarios that you may encounter.
Note: If you want to allow only specific users to update actual hours and provide a timely payout for terminated employees use Update Schedule Only Security Feature. This Feature is NOT selected by default if you have permissions for the PS Wizard Screen. With this feature cleared (the default), a user can update ALL employees.
To update schedules to Payroll and Billing
- From the Personnel Scheduling menu, click Personnel Scheduling Wizard.
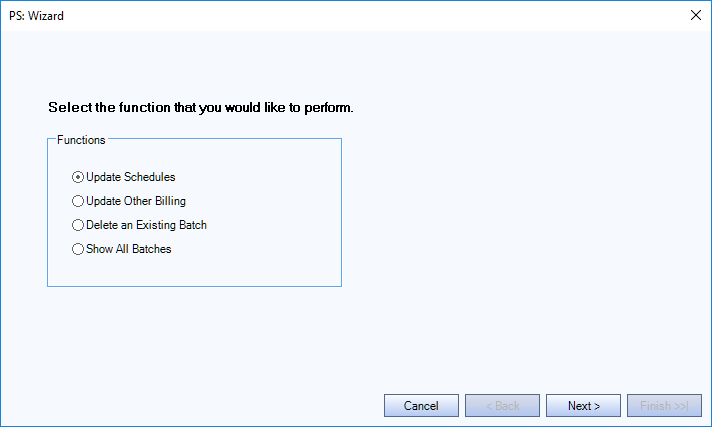
- Select Update Schedules, and then click Next.
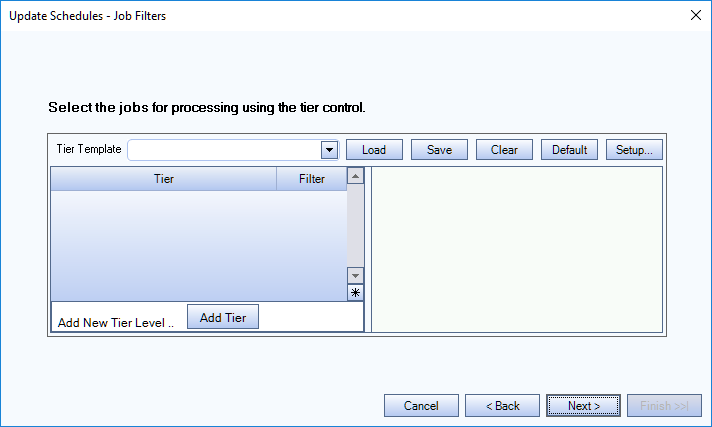
- Filter using Tiers, and then click Next. This grid is for sorting and filtering, it does not look at dated tiers.
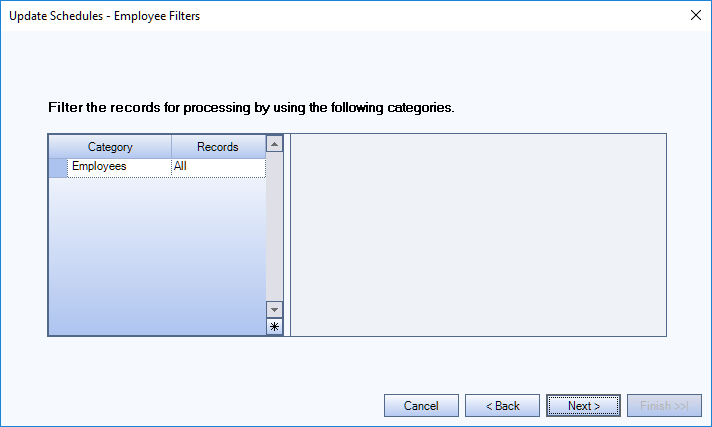
- Filter for Employees, and then click Next.
Note: When updating using an Employee Range, WinTeam does not delete the Open Cells for the Job the employees were scheduled in. This will prevent you from having to reopen manually using the Shift + DEL function.
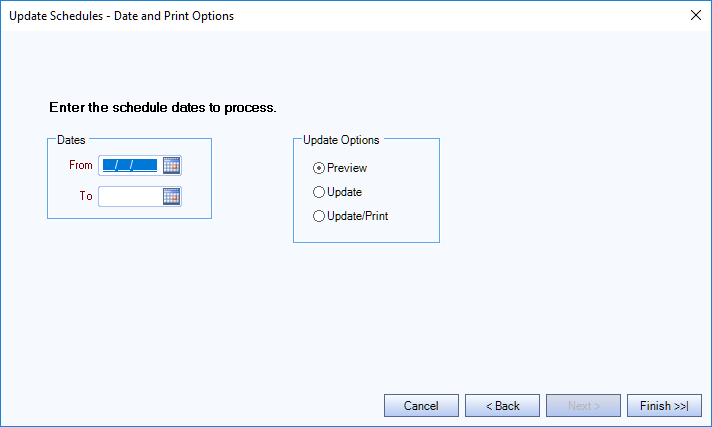
- Enter the date range of Schedules you want to process. All records not previously updated for the selected Jobs that fall within the date range will update. Select Preview and click Finish to generate a report showing the billing and payroll information to update.
- Review and edit any last minute changes through PS: Billing Review and Edit.
Note: Payroll changes must be made through the Timekeeping Selection Option screen.
Note: If a Post is using a Bill Category set up as "Do Not Invoice", these cells will not update into the PS Review and Edit.
- Select Update or Update/Print, and then click Finish to complete the update process.
- A message displays to proceed with the update.
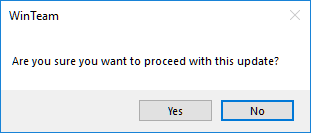
Click No to return to the Date and Print options screen.
Click Yes to continue.
