
After generating your electronic file to the IRS, you may be required to submit a corrections file to address any errors from the original file. If the status of your file is Accepted with errors, it is expected that you will attempt to resolve any issues that are flagged by the IRS. The penalties for not resolving issues generally increase the longer you wait.
To submit a corrections file:
- From the IRS website, download the acknowledgment (.ack) file that contains the errors.
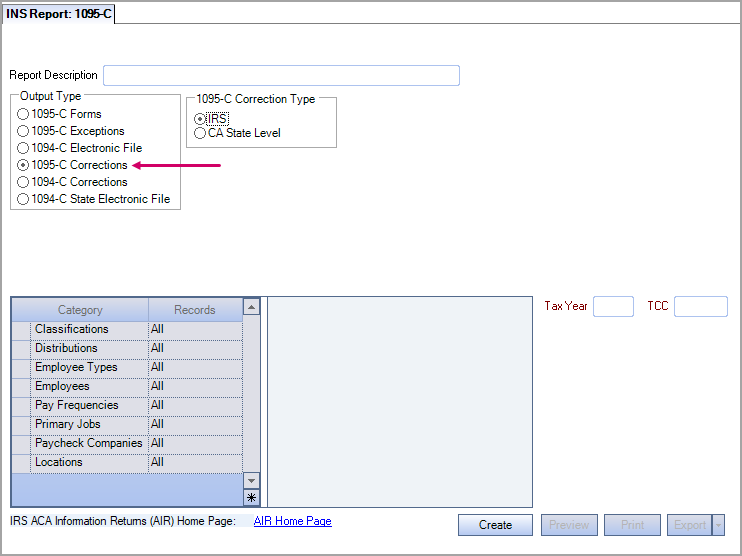
- From the INS: Employee 1095-C Report window in WinTeam, select the 1095-C Corrections output type, enter the Tax Year and TCC and then click Create.
- The INS Report: 1095-C Corrections window opens. Upload the acknowledgment (.ack) file. The Submission ID, Tax Year, and Transmitter Company are populated based on the associated request file stored in WinTeam.
- WinTeam compares the two files and populates a list of employees with errors in the grid.
- Make the appropriate changes to the 1095-C records for the listed employees.
- Export the grid and exit out of the window. Make the appropriate changes in WinTeam using the exported grid as a guide. Then repeat steps 2-4.
- Leave the window open and use links to get to the windows to make the appropriate changes. For example, double-click the Employee Number to open Employee Master File window and then drill down to the Benefits By Employee window or click the drill down icon next to the Employee Number to open the Employee 1095-C Entry window.
- After you make all of the changes, click Continue in the Employee 1095-C Correction window.
- Select a location to save the file—DO NOT change the filename.
- The Transmitter Information window displays. Only the Part I & II tab is accessible because the other tabs are not relevant to the corrections file.
- Click Proceed to create the file.
- Click the AIR Interface (UI) Production System link to log in and upload the correction file to the IRS.

Note: Typical errors involve mismatched Social Security Numbers for both the employee and/or their dependents. If an employee has multiple SSN errors, it is likely the discrepancies are coming from their dependents.
OR
Note: You can repeat this process if your correction file returns as Accepted with errors, but be sure that you use the new Acknowledgment file and the new Request file.