Making an ACH Payment with a Saved Payment Method
This article shows users how to make an ACH payment on the online payment portal using a saved payment method.
To learn how to save an ACH payment on the online payment portal use this link.
Once you have signed in to the online payment portal you can use the Pay Invoices page to view all outstanding invoices by company and to pay invoices using saved payment methods.
Use the following steps to make a payment with a saved ACH payment method:
- Once the user is signed in, click the appropriate customer from the list on the Customer Select page.
Tip: Complete the following steps to add an additional customer number:
1. Click the Add Customer button.
2. Enter an invoice number and customer number.
3. Click the Add Customer button.
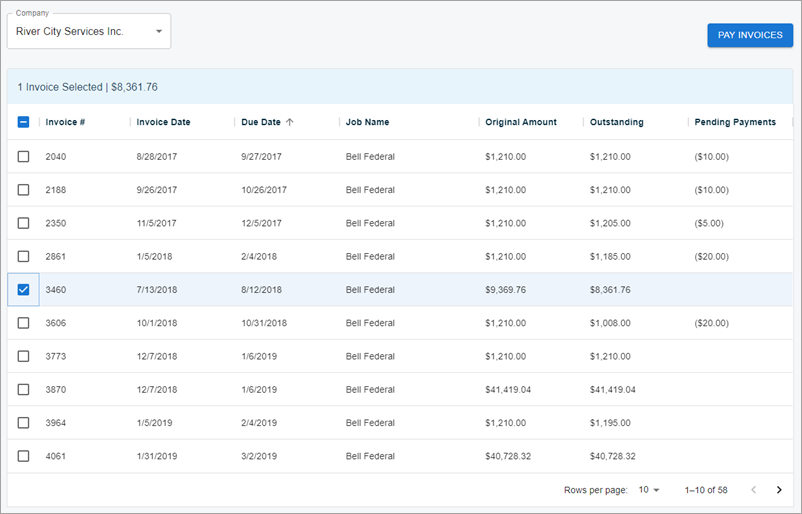
- Select the check box next to the invoices you want to pay. Multiple invoices can be selected at once. To select all invoices, select the check box to the left of Invoice # in the header.
- After the invoice(s) are selected, click the Pay Invoices button.
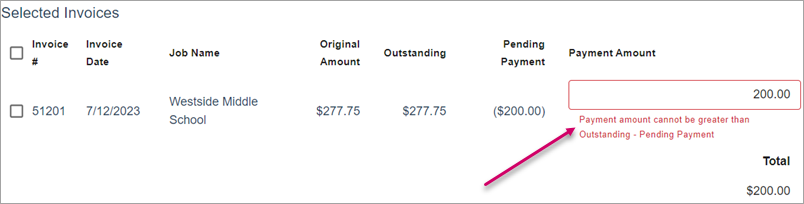
- Enter the amount you want to pay. By default, the maximum payment amount allowed displays in the Payment Amount field. A payment amount less than the maximum can be entered. Overpayments are not accepted.
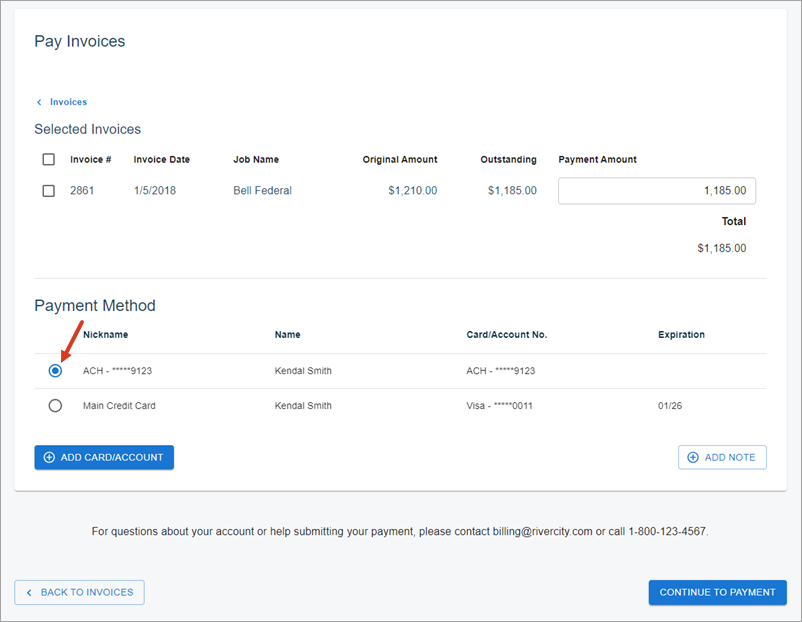
- Click the Pay Invoices button.
- Select ACH as the Payment Method.
- Optional: Enter notes by clicking the Add Note button.
- Click the Continue to Payment button.
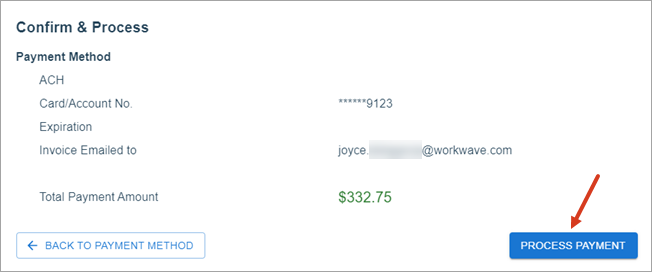
- Click the Process Payment button.
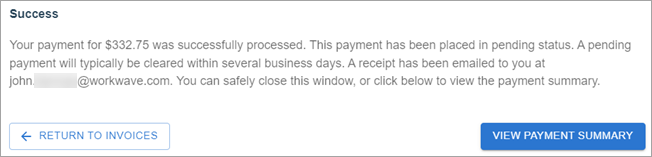
- A message displays if the payment processes successfully. This message contains a reminder that the payment is in a pending status for several business days.
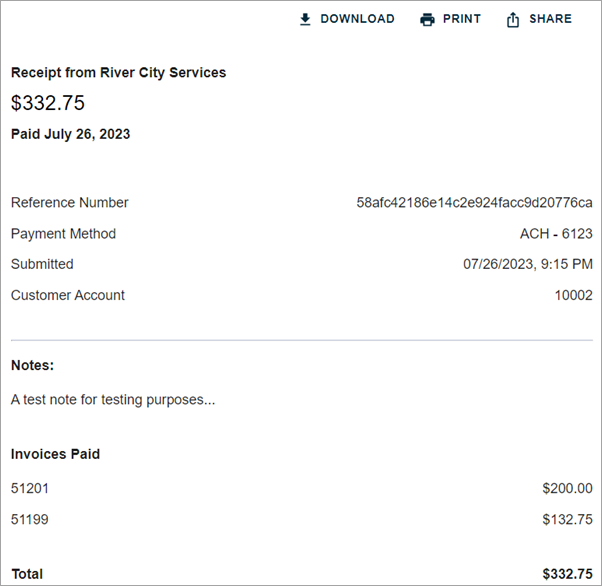
- Click Return to Invoices to return to the list of open invoices. Click View Payment Summary to open the page that contains the payment details. This will serve as the receipt.
- From the Payment Summary, payment details can be downloaded, printed, or shared via email. Use this link for additional details on sharing the payment confirmation information.
- Click Return to Invoices to view the list of outstanding invoices.
Tip: Use this link to view information about the Open Invoices page.
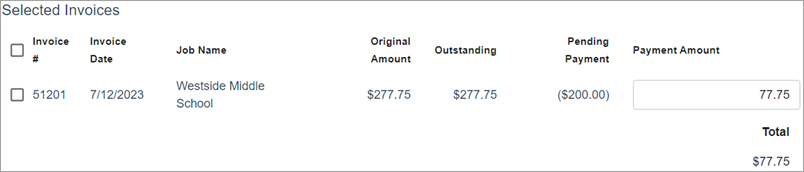
The Pending Payment column contains any payment made for the invoice that has a Pending status. Amounts in this column are in parenthesis to indicate that a payment has been applied for the invoice.
The Outstanding balance that displays does not have the Pending Payment amount subtracted from it, however, the system accounts for the pending amount to prevent an overpayment on the invoice. A payment amount that would result in an overpayment cannot be processed.
Note: ACH payments in the Online Payment Portal are for United States (US) payments only.
Notes are optional and are attached to the Payment Confirmation Page, the email that is automatically generated on payment creation and failure, and the AR: Payment record in WinTeam.