Employees who wish to have their paychecks direct deposited may need to go through a Pre-Note procedure, if your bank requires it.
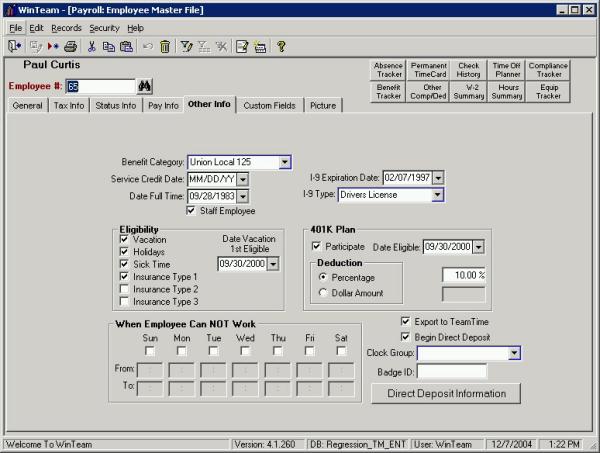
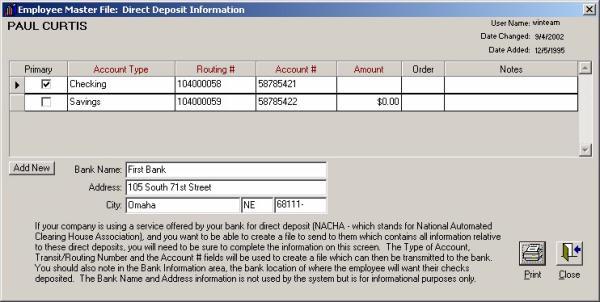
- Check that each employee’s Direct Deposit information is set up in the Employee Master File (Other Information tab) screen. As long as the employee's Direct Deposit information screen is set up, it will be picked up for Pre-Note. You do need to have the Begin Direct Deposit check box selected in order to do a Pre-Note.
- There is currently not a Pre-Note check box to indicate which employees you wish to send a pre-note for. We suggest that you use the Employee Type field to filter those employees you wish to send a pre-note for.
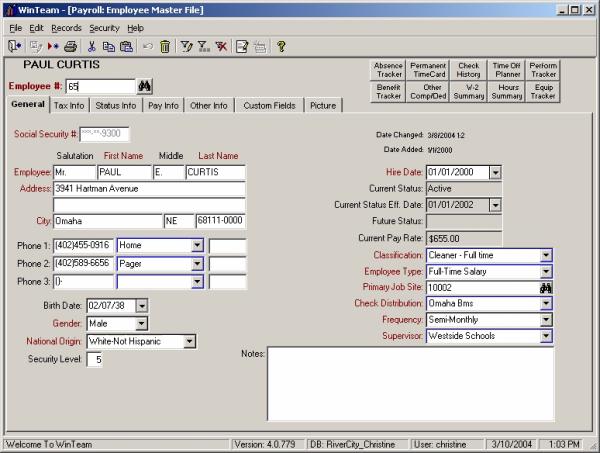
- Create an Employee Type of Pre-Note. If you are using the Employee Type for something else, you will want to be sure to jot down what Employee Type each employee has before changing it to the Pre-Note option. You will want to change it back once the Pre-Note is created and sent.
- Once all of the employees have been changed, you can continue running the NACHA program.
- From the Payroll Main Menu, click Payroll Reports.
- Select NACHA Bank Transmission.
- On the NACHA Bank Transmission screen, select the Employee Type from the Pick From List that was set up for Pre-Note.
- Select Is this a Pre-Note? check box.
- Clear (deselect) the check box Include Only Direct Deposit Checks? By doing so, the system will look at the Employee Master File to see who has direct deposit information set up, instead of looking at the actual check records when determining who should be included in the NACHA file you are submitting (in this case, the Pre Note file).
- Select the GL Cash Acct #.
- Fill in the applicable bank information.
- Preview the report to verify the employee records that will be included. Once you are ready to create the file, you can click on the Write/Print button.
- You can now go ahead and transfer this file to your bank for verification.