Overview
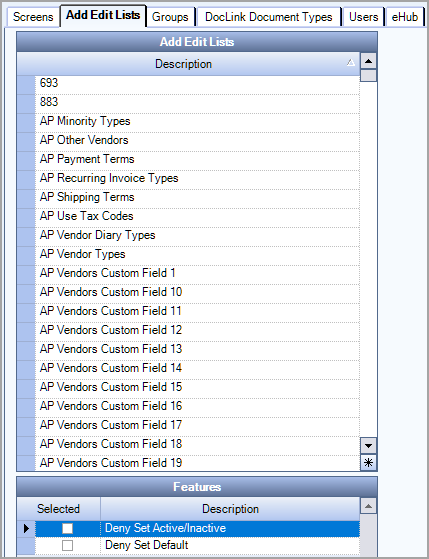
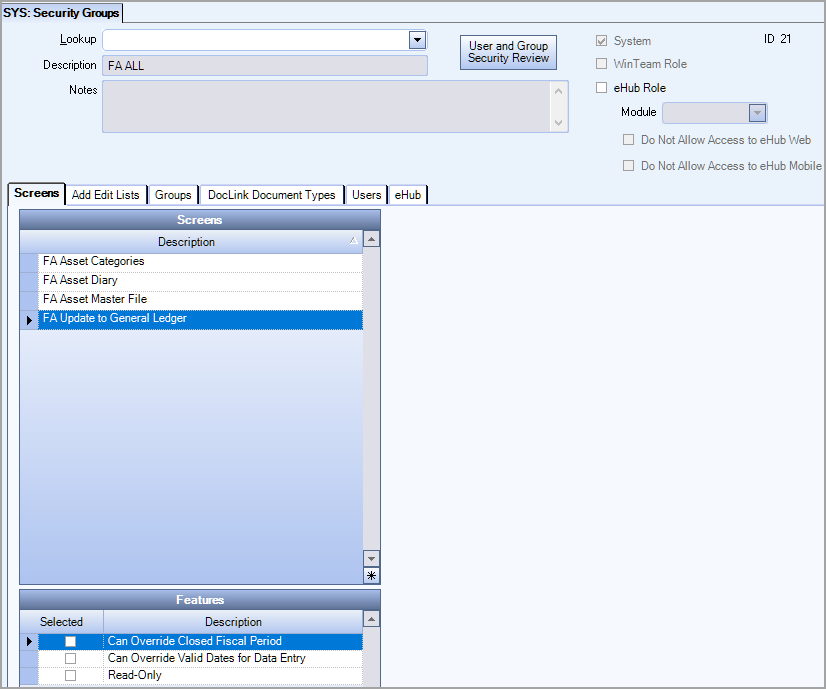
You can use SYS: Security Groups to manage user access to Screens, Add Edit lists and DocLink Document Types, and to manage user Groups and eHub Roles. A Security Group may have one or more Subgroups or Screens assigned to it. A Screen may have Features specific to it.
A Group may also be designated as a Role. A "Role" is a group that contains security to specific screens and groups that are required for their "Role" in the company. This makes it easy for companies to set up new Users by simply assigning them to a "role" , rather than adding multiple security groups and screens to the User security. eHub Roles are created using the Security Groups screen.
WinTeam has several groups preassigned. For a complete list of Security Groups with the Subgroups and Screens assigned to each group, see Understanding Security Groups. Security Groups that are preassigned can be identified by the System check box being selected and the Description is grayed, indicating it cannot be modified.
You may add or edit screens assigned to the Group. You can also create Sub Groups. You may also view User Names that have permissions to the Group, but you cannot add a User Name to the Group on this screen. It is important to note that if a User has a feature set that includes more than one item, the lowest security "wins". A screen may have its own Security Group, but the "screen" can still be assigned to another Group (without having to use the Group).
You may use the Rollover button on the toolbar to create a new Security Group. For more information on Rollovers, see Rollover Functionality.
Key Functionality
Rollover button
When a Security Group record is rolled over, the new Description name takes the original Description and appends (1) to the end. It will increment the count (2) as the same record Description is rolled over so a unique description exists.
If the description is very long and the length has reached its maximum limit based on field width, the incrementing functionality will replace the last few characters with an (x).
For more information, see Rollover Functionality.
Lookup
Use the Lookup list to locate an existing Security Group.
Description
Use the Description field to enter a unique name to identify the Security Group.
Type the Group Name in this field. If you type an existing Security Group Description the system prompts you for a unique name or directs you to use the Lookup list to locate an existing record.
If the Description is grayed, it indicates that this is a System Group and it cannot be modified.
System
The System check box is used to identify Security Groups that are hardcoded in WinTeam. You cannot modify this information.
Notes
Use the Notes field to enter any notes about this Security Group.
If you enter more than one line of information, the system automatically wraps the line of information for you. To start a new line or paragraph, press Enter.
System
The System check box displays in read-only mode.
If the Security Group was included with WinTeam, it is considered System generated. Security Groups that you create are not considered "system generated".
WinTeam Role
Select the WinTeam Role check box if you are creating a Security Group that is comprised of specific screens and groups that are required for a Users "role " in the company.
For more information see Using Security Roles.
eHub Role
Select the eHub Role check box to designate a security group as an eHub role. Use the Module field to select either ESS or CSS for the security group/role.
Use the Do Not Allow Access to eHub Web and Do Not Allow Access to eHub Mobile check boxes to restrict access to eHub for users with this role on one or both of these eHub applications (for both ESS and CSS).
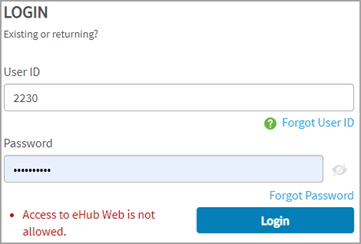
When a user with restricted access attempts to log in, the following message displays on the Login window, "Access to eHub Web is not allowed" or "Access to eHub Mobile is not allowed" (depending on the application).
Important: Refer to your internal business procedures to understand when and why users would be restricted from an eHub application and how that changes their user experience.
Hover over the Change Information icon to see User Added, Date Added, User Changed and Date Changed information. WinTeam records the logon name of the user entering or changing this record. The Date Added is the original date this record was entered into the system. The Date Changed is the date the record was last changed. Right-click on the Change Info icon to filter for records added or changed by a specific user or date.
When you hover over the User Changed or Date Changed filters, you can:
- Filter By Selection - Filters for all records that match your current records field value.
- Filter by Exclusion - Excludes from your filter all records that match your current records field value.
- Filter For - Filters based on the text/value you enter.
- Sort Ascending - If you already have a filter applied, the Sort Ascending command is available. Also used to include all records in the filter and sort in ascending order based on the current records field value.
- Sort Descending - If you already have a filter applied, the Sort Descending command is available. Also used to include all records in the filter and sort in descending order based on the current records field value.
Screens can be added to Security Groups. Each screen may contain features that are specific to it. For a detailed explanation of each Feature that may be assigned to a screen see that particular screen topic.
Use the Group tab to manage Sub Groups that belong to the selected Security Group.
Sub Groups contain their own set of screens. This can save a lot of time, you do not need to add a new screen one at a time to a custom group.
When you are adding individual screens, you can either add them by the Screen name or by the Group Name.
Example: Consider a Custom Sub Group titled Schedulers. This group could include all permissions needed for a normal Scheduler. If you wanted to add a new screen for all Schedulers, you would need only add the new screen to the Custom Group titled Schedulers. WinTeam would automatically propagate the change to all users that belong to the Schedulers Custom Group. Without using the Sub Group, you would have to add the new screen to each user record, which could become very tedious and time consuming.

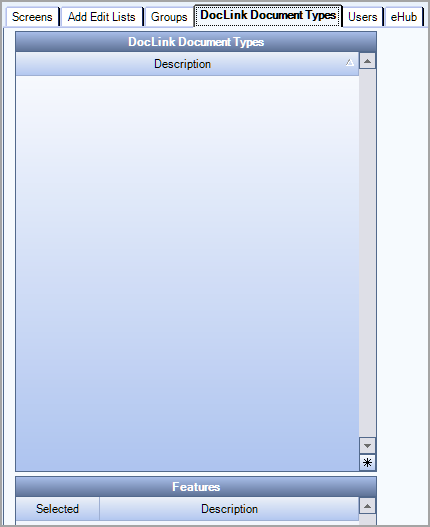
If there are no document types listed in a security group for a screen, the DocLink icon in the toolbar is disabled.
For DocLink Security information, see DocLink Help.
The Users tab lists the User names that have permissions to the Security Group.
You cannot add a User Name to the Group on this screen. You must return to the User Security screen, Lookup (or Add) the User Name, and then add the security Group to the User Name.
You can click the Detail button to open the User Security screen.
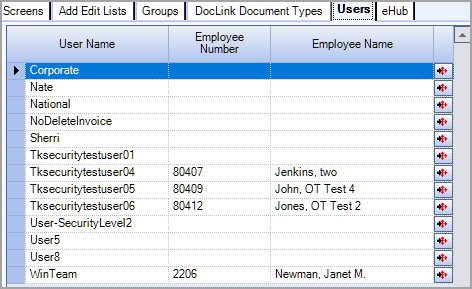
Tip: Click the Detail button next to the User Name in the grid to return to the User Security screen for the selected User.
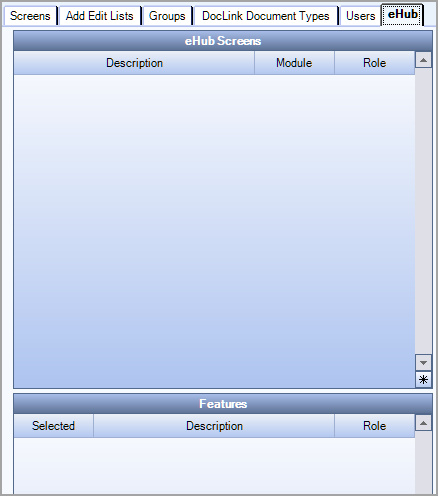
Security access for eHub is set up on the Security Groups (eHub tab) screen. If you are not licensed for eHub, this tab will appear dimmed, meaning that it is unavailable.
An eHub Role identifies a group of screens available to Employees or Customers. Once an eHub Role is created, you can assign the eHub Role to an Employee or Customer through the Employee Master File record. eHub has three basic user roles: Customer, Base Employee and Supervisor/Admin.
Select the eHub Role check box to designate a Security Group as an eHub Role.
If you are creating a new eHub Role, you will also need to select if the Role is for Employee Self-Service (ESS) or Customer Self-Service (CSS) in the Module list. For more information see Creating eHub Roles.
For detailed information on eHub Timekeeping Security see eHub Timekeeping Security.
For a list of eHub screens, modules, and features see eHub Security.
