A Role identifies a group of Web pages available to Employees or Customers. Once a Role is created, you can assign the Roles to an Employee or Customer through the master file record. In our example we will be creating a Role for Employee Self Service (ESS). We would like all our Employees to have access to their own basic employee information.
Creating a Role
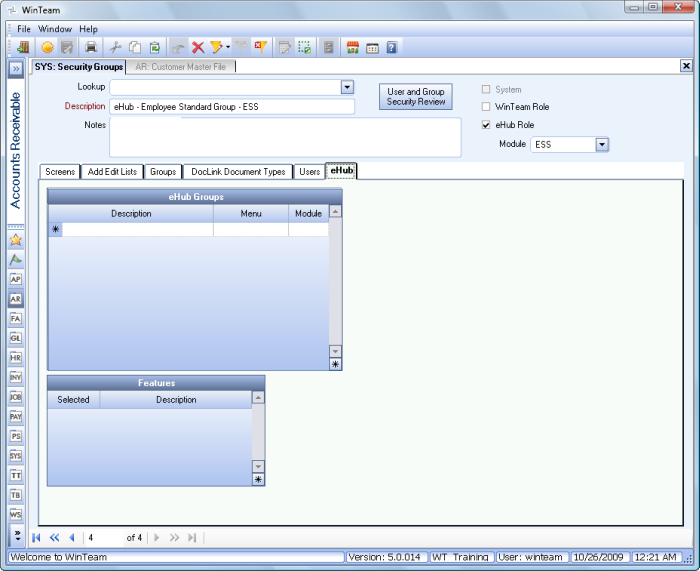
- Open the WinTeam SYS: Security Groups screen.
- Click the eHub tab.
- Type a Description for the Role. We recommend that you use a standardized naming convention for eHub Roles.
- Select the eHub Roles check box.
- Select the ESS Module.
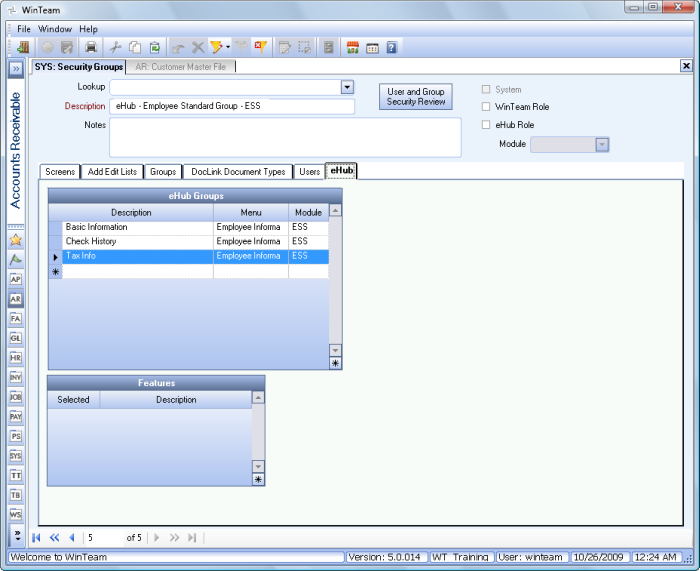
- In the grid, select from the list the screens you want available for the Role. Only the screens that are applicable for the module (ESS or CSS) display in the list. For a complete list of screens available see eHub Screens and Levels.
- For ESS, you can now add the Role to an Employee. For CSS, you can now add the Role to a Customer.
Note: The eHub level you are licensed for determines the screens available for each module.
Deleting a Role
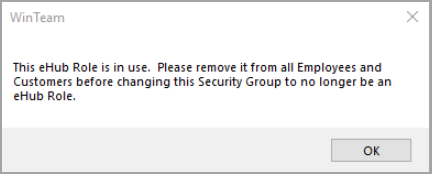
Before you delete an exiting eHub role, you must unassign it from all users who use it. If it is used by anyone, the system will not allow you to delete it—and a message box displays reminding you it is used and must be removed before proceeding.