
Overview
You can access the Employee ID Badges screen from the HR Main Menu, provided the proper security rights are set up. You must have Microsoft Word installed for the option to be enabled. Use the HR Employee ID Badges screen to print ID badges for employees. You must have a version of Microsoft Word in order to use this feature.
Security
The User who is logged in must have HR Employee ID Badges Group rights. The HR Employee ID Badges Group consists of access to the HR Employee ID Badges screen. The HR Employee ID Badges Group is part of the HR ALL, HR Reports Employees, and SYS ALL groups. For more information, see Learning about Groups.
Company and Location security are implemented for Enterprise and ASP Customers. For more information, see Learning about Location Security.
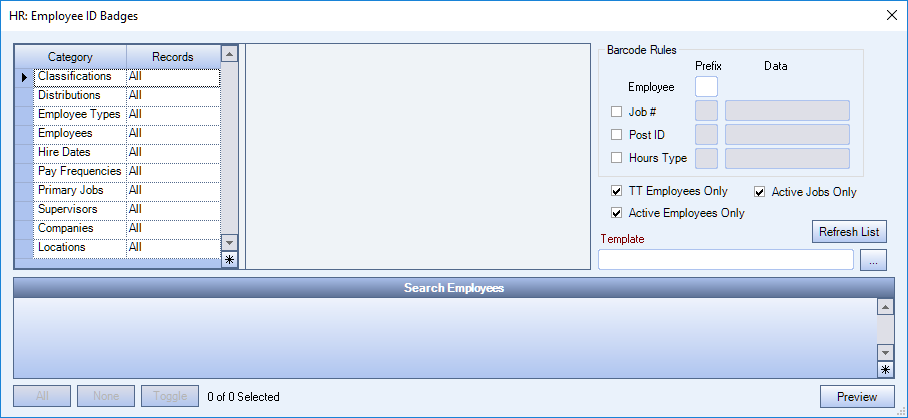
Employee ID Badges screen
Related Information
Key Functionality
Category/Records
The Category\Records are used to filter the selection criteria for the badges. You may filter by Employees, Hire Dates, Companies (Enterprise only), Locations (Enterprise only), Classifications, Distributions, Employee Types, Pay Frequencies, Supervisors, and Primary Jobs.
Barcode Rules
The Barcode Rules determine the format of the barcode.
- The employee number is prefixed with an 'E' by default when one of the 3 other check boxes (Job #, Post ID, or Hours Type) are selected.
- If Job # is selected, the barcode includes the prefix and the Job number supplied on the screen. The prefix is ‘J’ by default. If a Job number is not entered (but the check box is selected) the system uses the employee’s Primary Job Number.
- If Post ID is selected the barcode includes the prefix and the post id supplied on the screen (required when selected). The prefix is 'P’ by default.
- If Hours Type is selected the barcode includes the prefix and the hours type supplied on the screen (required when selected). The prefix is ‘H’ by default.
- Each prefix field is a maximum of one character
- The Job Number, Post ID, and Hours Type fields have a maximum of 25 characters.
Note: The labels on each of these sections of the barcode are not important. The user can tie the barcode to whatever they determine is important.
Refresh List
Click the Refresh List button to update the Select Employees grid once you have modified your selection criteria.
TT Employees Only check box
Select the TT Employees Only check box to include only employees with ‘Export to TeamTime’ selected in their Employee Master File. This check box is selected by default.
Active Employees Only
Select the Active Employees Only check box to create badges for active employees only.
Active Jobs Only
Select the Active Jobs Only check box to create badges for active Jobs only.
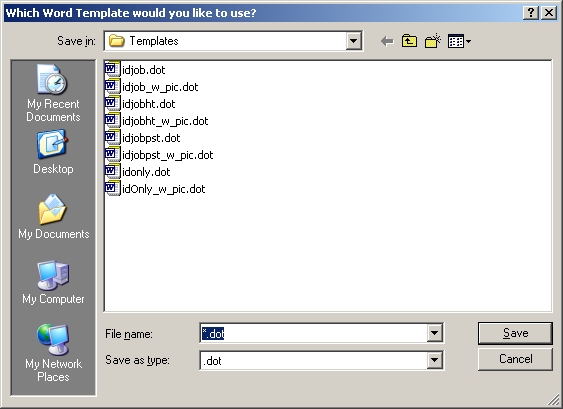
Template
Use the Template field to enter the path to the WinTeam template files. You may use the ellipse button to locate the .dot files that TEAM provides with the program. They are installed to:
Y:\WinTeam\Templates.
If you create additional templates, you may want to save them in the same folder.
For more information, see Learning about ID Badge Templates
Select Employee grid
The grid consists of the following columns: Employee Number (EE#), Employee Name (EE Name), Job #, Post ID, Hours Type, Barcode, and Selected columns. You may use the Find Feature to Locate employees or Jobs.
Add New button
Click the Add New button to add a new row to the grid.
All, None, and Toggle buttons
Click the All button to select each row in the grid.
Click the None button to clear each row in the grid.
Click the Toggle button to change the Selected column to the opposite of its current value. If the row is selected, it will clear. If the row was clear, it becomes selected.
Note: These buttons are disabled if the grid has no rows.